 Italiano
Back to: CG260 STANDARD EQUIPMENT
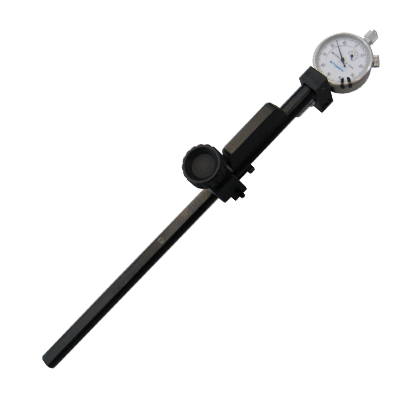
CG0118 Measuring device
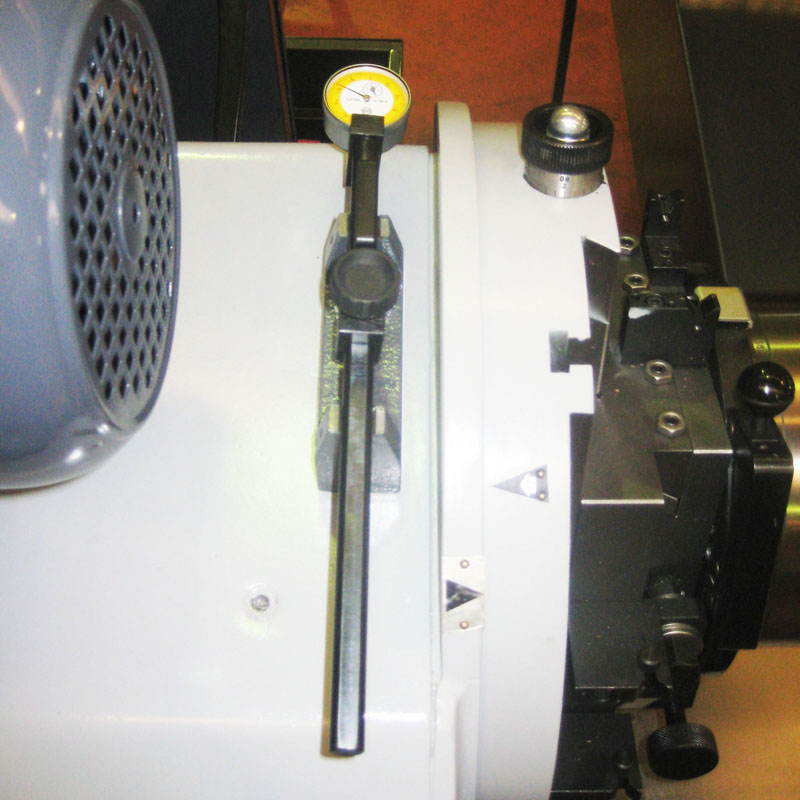
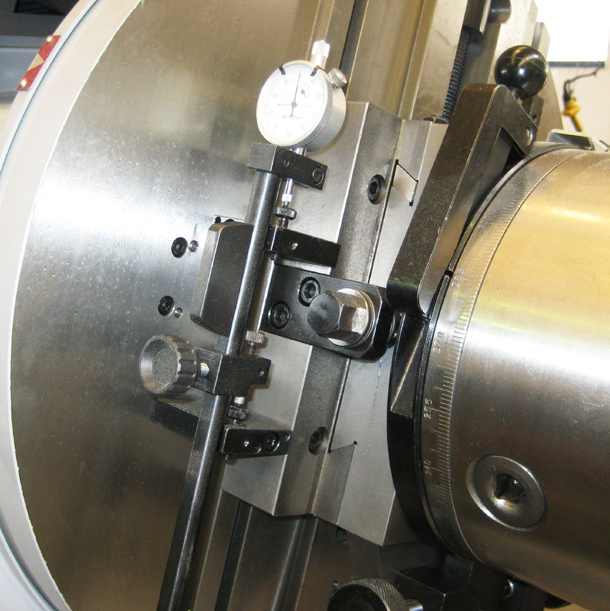
The stroke setting device is supllied for accurate measurement of cross/stroke slide offset. It allows for rapid and accurate repositioning of the slides when changing over from rod to main journal regrinding and vice versa. It consists of a special .200” per revolution dial indicator mounted on a calibrated bar. The bar is drilled and marked 0,1,2,3,4 etc. which corresponds to the actual stroke amount to be set (calibrations are in inches). On initial setup of a new machine this device is assembled and calibrated by loosening the knurled clamp knob on the calibrated bar and moving the slider to the “0” position and reclamping. Make sure that the tapered point on the clamp enters the calibration drilling and seats firmly. Install the dial indicator by loosening the clamp screw and sliding it into its mounting. Place the device on the setting block mounted on the headstock of the crankgrinder and position the fixed indicator point firmly against the calibration pad. Slide the dial indicator into a position where the pointer reads “0” and tightenteh clamp screw. Do not tigten excessively or binding of the dial indicator may occur. As a precaution check all of the setscrews in the calibration block and the setting device for proper tightness. Secure if necessary and recheck the calibration. To complete calibration, mount a precision ground arbor such as a large diesel wrist pin or the wheel balancing arbor in the headstock chuck. Using the “Quick Check” dial indicator supplied, centralize the test arbor by adjusting the stroke and cross slides until the arbor has less than .001”/.0025 mm runout when the chuck/cross slide assembly is rotate. During this test the cross slide, stroke slide, and index lock must be secured, power “Off” and the headstock clutch disengaged. Mount the Stroke Setting Device in the “V” blocks for the stroke slide. Adjust the contact pad on either “V” block until a “0” reading is obtained on the Dial Indicator. Repeat this procedure for the cross slide. After adjustment verify that all of the securing hardware for the pads and their associated mountings are tight. After completing the headstock calibration perform the same adjustment on the tailstock.